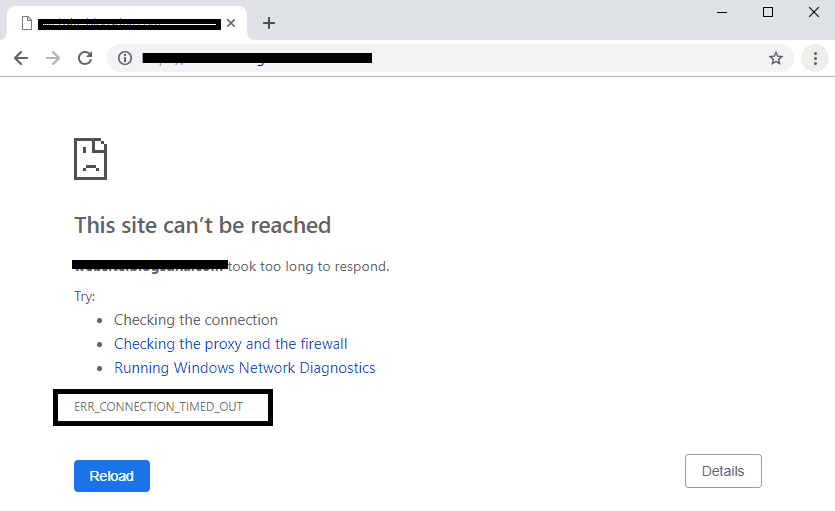
In your Google Chrome browser, you may get ERR_NAME_NOT_RESOLVED if you try to open a website, but the site fails to load and this error appears on your screen.
Error name “ERR_NAME_NOT_RESOLVED” denotes that DNS has failed to resolve the domain name (Domain Name System). We know that each domain has a name server, which is used by DNS to resolve these domains.
ERR_NAME_NOT_RESOLVED signals that the domain name has not yet been found and resolved. It is possible that the ERR_NAME_NOT_RESOLVED issue occurs for a variety of reasons.
Incorrect system configuration, incorrect router configuration, or a malfunctioning or unavailable website could be to blame for the problem you’re experiencing.

ERR_NAME_NOT_RESOLVED How to Fix Error
To summarise, there are numerous reasons why ERR_NAME_NOT_RESOLVED error may arise, however we’ve compiled a list of the best strategies to fix this issue. ERR_NAME_NOT_RESOLVED problem has four remedies listed below. You can pick and choose which one you want to follow. If none of them work, you may want to go on to the next option.
ERR_NAME_NOT_RESOLVED occurs when you try to access a website that is your own. Setting up a website and putting it on the main platform requires hosting. This hosting can either be given for free or for a fee by third-party hosting companies.
After purchasing hosting, you’ll receive a list of name servers that you’ll need to change with your domain registrar. In the case of xyz.com, ABC website registers the domain and hosts it with providers 1, 2, and 3. Domain Name Servers can be updated automatically if you’re registered with a site like ABC, so you don’t even have to do it yourself.
This is where the action is, so proceed with caution. You must verify that the name server you are using is in sync with the name servers that you were given. Visiting intodns.com/ will provide you with the assurance you require in this regard.
The nslookup report should be examined if you are unable to load your own website but are able to load other websites. Once the command prompt is open, all you need to do is type cmd in the search bar to get there. Type “nslookup” into the command prompt and press Enter.
It’s possible that your domain doesn’t exist or has some other problem if this shows you an IP address that is valid.
Read Also:
1. Telemetry High Disk Usage
The server of the website you’re trying to visit is obviously not at fault if the site you’re trying to access is a general site that is accessible everywhere else but only on your Device. How do we know where the problem is?
In fact, your system’s settings, which may have been incorrectly adjusted, are to blame. It is most likely that your ISP’s DNS servers are down or your DNS settings are at fault, due to a misconfiguration, in these kinds of situations. We’re going to use Google’s public DNS servers, which have an uptime of 99.99 percent, to try to fix this problem.
Step 1: By pressing the Windows key and the R key at the same time, you can get the Run dialogue box. “OK” when you’ve typed in “ncpa.cpl.” Next, locate your Network Adapter and pick “Properties” from the context menu that appears when you right-click on it.
Step 2: Click on TCP/IP4 and then Properties to finish configuring the Internet Protocol Version 4. To use the following DNS server address, tick the box to the left of it. Now, change the two address fields in the address book.
8.8.8.8
8.8.4.4
Step 3: After that, click “OK,” then “Test.”
2. Using a MAC OS X To Update Your DNS
Step 1: The Apple icon can be found in the upper left corner of the screen on a Mac running OS X. After that, select Preferences for the system. Click on the Network icon and see if your current adapter, whether it’s wireless or ethernet, is selected and active. If it isn’t, click on Advanced.
Step 2: Now choose the DNS tab from the “TCP/IP, DNS, WINS, 802.1X, Proxies, Hardware” tabs and click on the “+” symbol. The DNS to be added are listed below; if any already exist, please remove them.
8.8.8.8
8.8.4.4
3. Disable Predict Network Actions and Clear Chrome’s Host Cache
To delete Chrome’s host cache and turn off “predict network behaviours,” follow these steps:
Step 1: The first step is to go into the Google Chrome browser’s settings and select Show Advanced Settings from the drop-down menu. To continue, click on Privacy under the Tools menu.
Step 2: Finally, look for- “Predict network activities to improve page load performance or use a prediction service to load pages more rapidly” and immediately disable it.
Step 3: In the address bar, enter the following:
chrome:/net-internals/#dns
and then press the Enter key.
Look for and click on Clear Host Cache. All of your problems should be resolved after completing these instructions.
Read Also:
Conclusion
With that, we’ve reached the end of our piece. Your time is valuable, and we appreciate your efforts in dealing with these problems. You can’t prevent them, so we present you with the finest techniques to fix problems and make sure that we support you to the best of our abilities.
To help you out, we’ve compiled a list of the most effective solutions, along with information on the various possible causes of your mistake. We really hope that our suggestions for resolving this problem will be of great assistance to you.


Leave a Reply