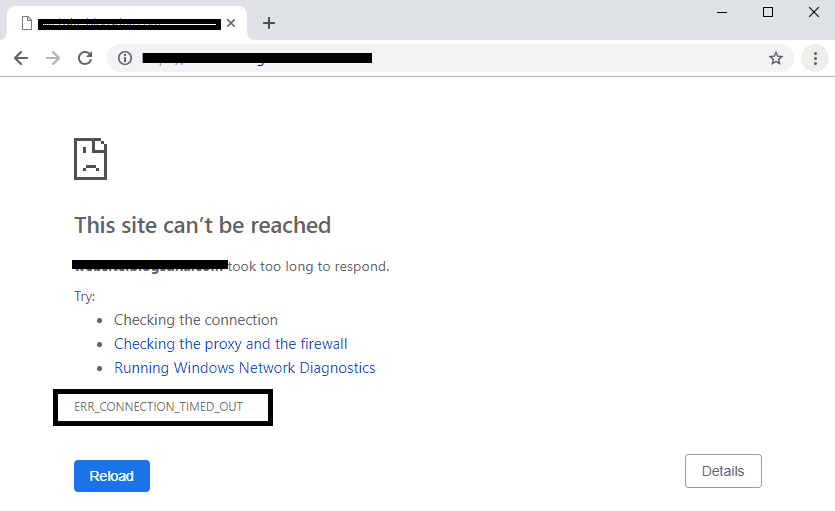
An error message reads “No Internet, Secured” when trying to use Wi-Fi to access the internet. If you can’t figure out how to fix Windows 10’s “no internet secured” problem, this guide is for you. Unlike other internet problems, this one involves a Wi-Fi connection, but the router fails to connect to the Internet, preventing you from accessing any web pages.
A small yellow triangle will likely appear when you check your Internet connection, which you can click to bring up the notice “No Internet, Secured,” if necessary. Because of an IP address misconfiguration, this issue appears to have arisen.
I’ve supplied a list of possible solutions because the error could be caused by a variety of circumstances. Just make sure you follow through with each step.

Before doing anything else, see if the issue affects simply one device or if it occurs across multiple devices. To begin, check to determine if the problem is limited to a single device or if it affects a large number of devices.
You may have an issue with your Windows 10 laptop, or you may have a problem with your network or access point. Only one device has the error “No internet, secured.” Continue reading anyhow. Don’t bother reading the remainder of this article if you don’t want.
Read Also:
Methods For Resolving ‘No Internet Secured’
It is recommended that you test each of the options listed below one by one to discover which one works best for you in regards to the Wi-Fi no internet secured problem.
Before attempting any of the following procedures, make sure your wireless adapter is operating properly. To execute this test, use the power recycle option (switch off and then turn it on again). If everything is in order and there are no concerns, begin implementing the solutions that have been provided.
1. WiFi Adapter
If you can, update your Wi-Fi adapter drivers. Internet connectivity can again be disrupted by an out-of-date driver. The WiFi adapter driver should be updated.
Step 1: Using the Windows + x keyboard shortcut, select Device Manager, then expand Network Adapters to see all of your network adapters.
Step 2: If your computer is currently using a specific type of adapter, right-click on it and select Update Driver Software from the drop-down menu.
Step 3: Click on Search automatically for updated driver software and wait for Windows to finish its search.
2. Turn off Wi-Fi Hotspot/Sharing Software
Wi-Fi Sharing and hotspot programmes can cause problems with your network adapter’s configuration. The first thing you should do if you’re using this type of software is to try to update or delete it if that’s possible.
Any non-Microsoft components on the network adapter must be disabled if the error “No internet secured” continues after the update or removal:
Step 1: To begin, press both the Windows and the X keys simultaneously. Second, connect to the Internet. Change the adapter’s settings by clicking on it.
Step 2: When you double-click your wireless network, it will appear in the list. Choosing Properties. All non-Microsoft features should be disabled in this step.
3. Change Your Network’s IP Address
Prior to making any changes or updates, check to see that your network adapter is configured correctly for use in a normal office or home network.
Step 1: Right-click on the Start button and select Network Connections from the menu that appears. Changing the adapter settings is the second step.
Step 2: Open the Network Adapter by double-clicking the Wi-Fi Adapter. Select the Properties option. Verify that all of the following boxes are checked:
4. File and Printer Sharing for Microsoft Networks QoS Packet Scheduler Internet Protocol Version 4 (TCP/IPv4) Client
In the Microsoft LLDP Protocol Driver Link-Layer Topology Discovery Responder Link-Layer Topology Discovery Mapper I/O Driver, uncheck Internet Protocol Version 6 (TCP/IPv6). (This may be the root of the problem.)
To complete this step, make sure the DNS server and IP address are both set to obtain automatically. Check to see if the no internet access error has disappeared after closing the properties window.
5. Resetting The Network
Windows 10’s network reset function resets the network configuration to its default state. And if an incorrect setting is the root of the problem, this could be really helpful.
When you perform a search for “Network Reset” and select the top result, step one is completed. If your network is reset, you’ll get a pop-up box notifying you of the consequences.
Resetting the network and your computer is the final step in this process. Finally, you can choose to use a fixed DNS server address. The DNS server is the most common cause of problems. The DNS server is responsible for translating domain names to IP addresses. Without a working DNS server, you cannot connect to the internet.
Step 1: Select TCP/IPv4 as the Internet Protocol Version. Make sure that the DNS servers specified below are being used. This is the IP address you’ll need to type in.
Step 2: In this step, 1.1.1.1 is the most commonly used DNS server. An alternate DNS server is 1.0.0.1. If the No internet secured problem has been addressed by clicking Ok, then go to step 6.
Read Also:
Conclusion
Well, there isn’t any kind of security on the internet. On a daily basis, Windows 10 users report experiencing and reporting problems with the operating system. My goal was to come up with a thorough list of internet problems and remedies.
It’s hoped that after implementing the aforementioned fixes, your PC is now online and your wifi is working properly. Because all of the solutions are effective, they might completely solve wifi no internet security.


Leave a Reply