Windows includes a number of built-in troubleshooting applications that automatically check your computer for problems, report any discrepancies they find, and attempt to resolve them. While most of these gadgets function reliably most of the time, they nonetheless have their moments of erratic behaviour.
“Windows Resource Protection discovered faulty files but was unable to fix any of them” is an error message that appears when a particular system tool fails to properly complete its task. Let’s investigate which tool is malfunctioning and how to correct it.
Now that we know what could be causing the issue, let’s check out some troubleshooting techniques.

Method 1. Always Use the Most Recent Version of Windows.
An out-of-date OS is a common cause of issues like the one at hand.
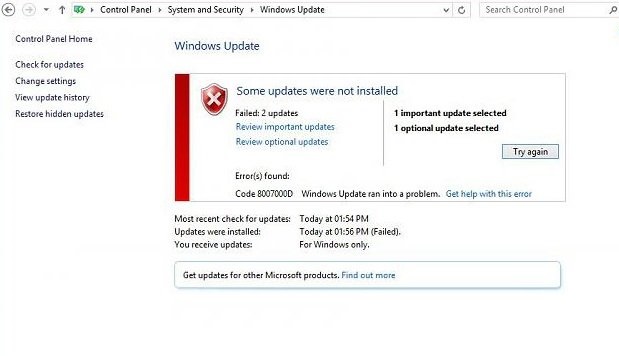
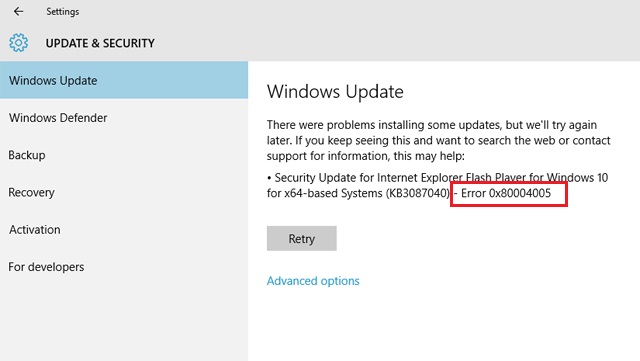
There are several reasons why it’s crucial to always have the most recent system updates installed. Incompatibility with many Windows services and increased susceptibility to attack are the results of neglecting to keep your system up-to-date. The most straightforward solution to this issue is to keep up with Windows update installations.
Installing them may solve the issue, so if it has been a while since you did so, take your time and see if that helps. Our Windows Updates Management Guide has everything you need to keep your computer current.
Method 2. activate Safe Mode
Possible cause of System File Checker error is process interference during scan. It is possible that the programme running in the background is malicious, but it could also be a programme you downloaded and installed.
Scan in Safe Mode to see if that’s the case, which can be reached by pressing the F8 key when Windows loads. In Safe Mode, Windows is started up with only the essential drivers and software programmes, clearing the decks for the SFC tool to function normally. A successful scan in Safe Mode will allow you to eliminate programmes one by one until you find the offending one.
What remains is as follows:
Step 1. To launch Run, just press the Windows key plus R.
Step 2. Enter msconfig into the Run dialogue box and hit Enter.
Step 3. Go to the Boot section of the next window and enable Safe Boot by ticking the box.
Step 4. Then, in Safe Boot, select the Minimal option.
Step 5. A computer restart is required after clicking the Apply > OK button.
Restarting Windows will cause it to start up in Safe mode by default. Scan normally in this mode to check if it finishes this time. If so, perhaps the most recent software updates are to blame; remove them and see if the problem persists.
Method 3. To Scan for Errors, Use DISM and CHKDSK.
Even if the System File Checker itself has issues, there are alternative applications you can use to troubleshoot the issue.
The DISM tool is one of the most potent utilities built into Windows and should be your first port of call. This utility seeks out and repairs problems in the Windows component store of the system image.
Follow these steps to activate the DISM utility:
Step 1. To launch Run, just press the Windows key plus R.
Step 2. Simply open the Run menu and enter cmd into the text field, followed by Ctrl + Shift + Enter. If you do this, the Command Prompt will open with full administrator access.
Step 3. You can also find the Command Prompt via a Windows search. If you want to run cmd as an administrator, all you have to do is right-click on it and select Run as administrator.
Step 4. Simply open a new Command Prompt window, type the command below, then press Enter to carry it out.
Cleanup-Image RestoreHealth DISM Online
If you’re impatient, the scan could take much longer. Once it’s finished, you should run CHKDSK to check for errors and damaged areas on your hard drive. If the problem is localised to the hard disc, this check should resolve it.
In an elevated Command Prompt, type chkdsk /f c: to initiate a CHKDSK check. Check for faulty sectors with chkdsk /r c: after that command has finished running.
Use the Data Loss Prevention Software to Correct Problems
We frequently resort to Windows’ built-in utilities to address problems that crop up. However, consumers may be at a loss as to what to do if and when these products become unresponsive or malfunction.
We trust that the above-described troubleshooting steps will help you identify and resolve the issue. If nothing else helps, you may always try replacing it with a similar third-party app.


Leave a Reply